Jump to content

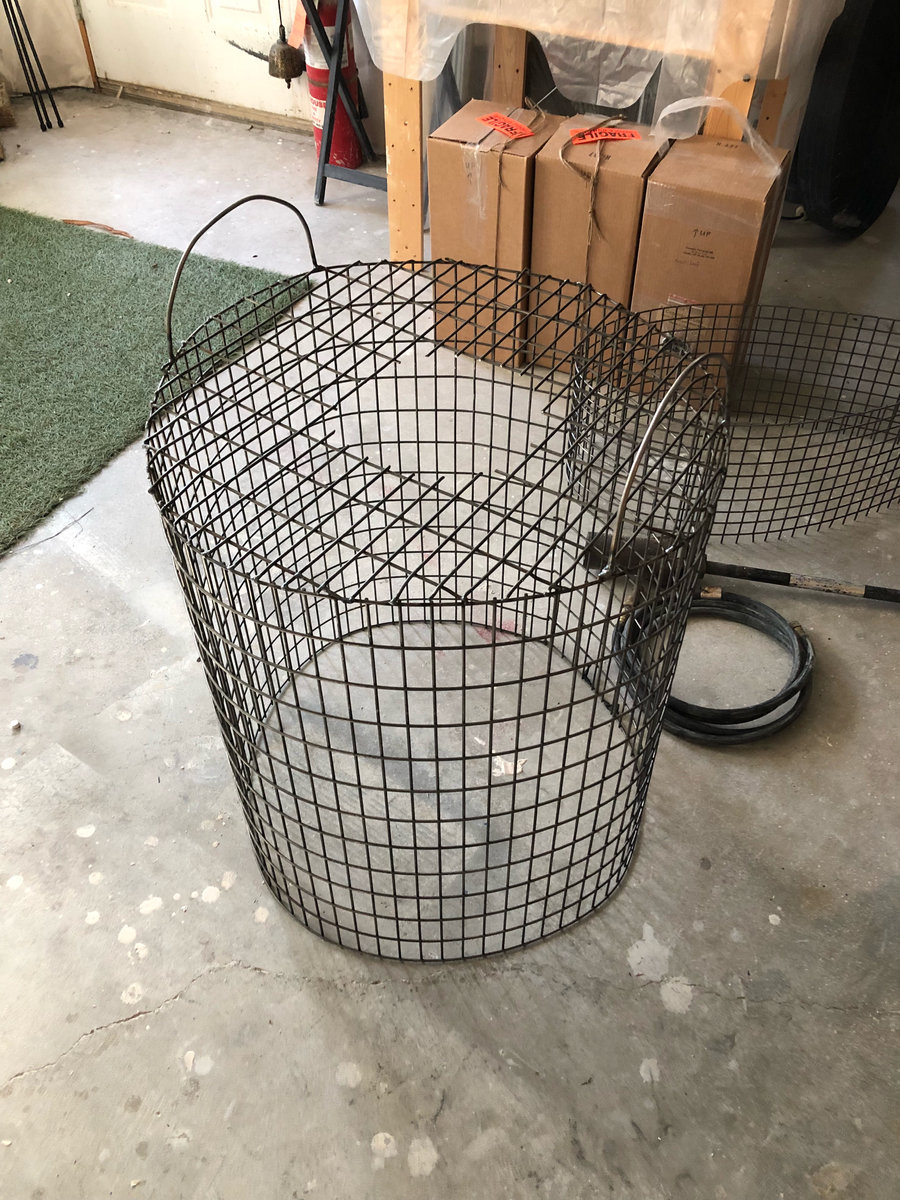
top cage assembled


terrim8

Day 1. Start collecting parts for my new raku kiln. So far, instruction book, lots of wire & a burner w hose. 

Day.2. Constructed basic cage frame, injured hand, took cage to a metal shop to make it sturdy & prettier! My hand doesn't look too pretty under this bandage but its just a scratch. 

Day 3. Picked up cage frame & they did a nice job- look at those handles!

From the album:

Raku Kiln under construction

· 4 images
  • 4 images
  • 1 comment
  • 9 image comments

Photo Information


Recommended Comments

I was really happy with their work. They had to tack weld down one side and around the top and the handles are big enough for my bulky gloves. I did realize though that I will have to hunt down a long flame proof apron or something to wear for the lift-off procedure. 

Link to comment

if you remove the burner after turning it off, what flame are you worried about?  never having been in charge of raku firing, only a helper, i cannot remember anything flaming except once it was put into a metal post firing container with the lid not yet put on top. (that is what i was doing)

Link to comment

Join the conversation

You can post now and register later. If you have an account, sign in now to post with your account.

Add a comment...

×   Pasted as rich text.   Paste as plain text instead

  Only 75 emoji are allowed.

×   Your link has been automatically embedded.   Display as a link instead

×   Your previous content has been restored.   Clear editor

×   You cannot paste images directly. Upload or insert images from URL.

×
×
  • Create New...

Important Information

By using this site, you agree to our Terms of Use.